At the most recent NACIS conference Eric Theise gave a workshop on implementing an open-source Geo-Web-Stack, or a combination of software that allows for rendering custom map tiles from OpenStreetMap data which then can be used to create an web-map application. I had a chance to look through his slides for the workshop on my own and managed to follow all the steps to get the stack up and running.
The steps were as follows:
- Install Homebrew, a package manager for Mac OS that lets you download software from Terminal.
(Luckily I already had this installed.) - Using Homebrew install the dependency software: Postgres, PostGIS, osm2pgsql, GDAL, Node, etc.
(this took a little work but I managed to get them installed successfully.) - Install TileMill from MapBox
(already installed and am familiar with using it.) - Download a city extract from OpenStreetMap in PBL format.
- Create a database in Postgres using the
createdbcommand in Terminal to store the OSM PBL data in. - Enable the database to be spatially aware by adding the PostGIS extension as well as the hstore extension to keep OSM’s tag data which are stored as key : value pairs. This helps with querying the data later.
- Import the OSM PBL data into the Postgres database using osm2pgsql.
- In TileMill create layers using SQL queries to select the appropriate data from Postgres.
- Use CartoCSS in TileMill to style the layers appropriately at various zoom levels.
- Export the tiles as an mbtiles file for rendering.
- Using the Node TileStream host the tiles on a local server.
- Run the Node Express Framework to connect to the tile layer via Leaflet JS.
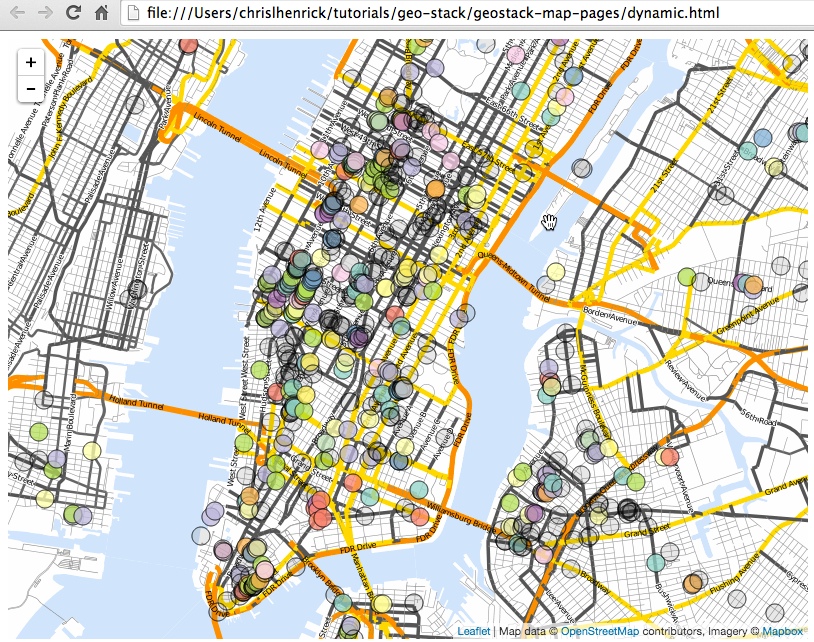
- Create a GeoJSON layer from a Postgres query on OpenStreetMap points of interest.
- Display the whole thing and provide pop-ups for the markers using Leaflet.
I was pretty excited to get this up and running to say the least and am definitely looking forward to using it in one of my future projects.